NEWS
Home Renovation: Rewiring a Vintage Home
Understanding your home’s electrical systems will help you make informed decisions
during a renovation project.
It’s hard to believe, but once upon a time, people were happy with a few bare ceiling bulbs and a couple of plugs servicing their homes. Electric loads have steadily increased over time, beginning with 15 to 20 amp services in early installations, 60 amps in the 1930s and 1940s and 200-amp service standards today. As electric demand increased, the tendency was to add on to the early wiring instead of starting over, leading to wires once serving a couple of plugs and a light now feeding several more outlets and fixtures, sometimes dangerously overloading the system.
While most electrical projects are beyond the skills of a DIYer, knowing the type of system you have and the nature of the improvements you want will help you make informed decisions during a renovation project and know when to call in a licensed electrician.
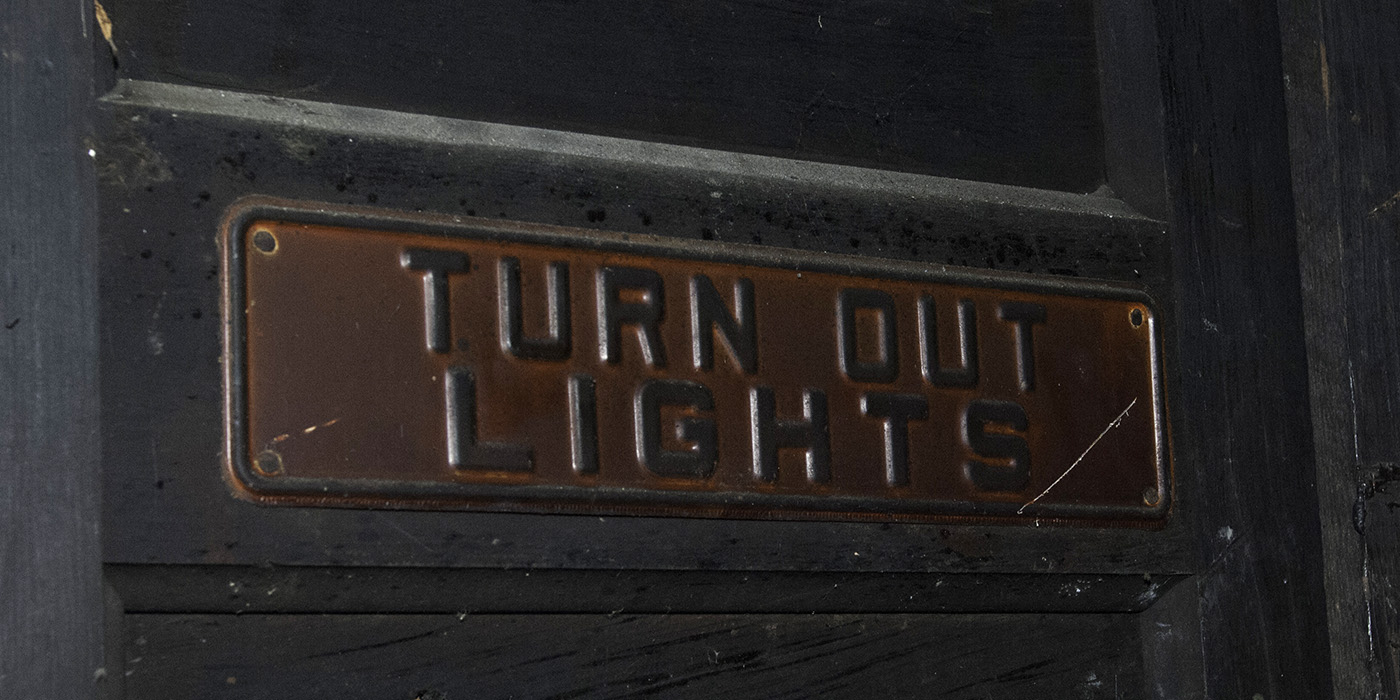
Electricity first appeared in homes in the late nineteenth century. Older homes built without electricity were retrofitted as the newfangled electrical systems became available. Before electricity, a combination of gas fixtures, oil lamps or candles lit the home. When renovating a vintage home, you may even come across old, disconnected gas lines within walls or ceilings that fed the gas fixtures before electrical wiring came along. Some renovators have discovered that the old gas pipes were used later as a sort of conduit to run the later electric wires: an innovative idea but a dangerous one today as deteriorating wire insulation can short in the pipe.
Older electric systems may still use a fuse box — a metal cabinet with two rows of round fuses that trip when a circuit is overheated or has a short. Fuses, rated for different amperages, fail when a thin strip of metal inside the fuse rated for the specified amperage breaks due to the heat caused by the electrical resistance moving through it. You can tell if a fuse is tripped: look for a broken strip viewable through the glass top of the fuse, unscrew it and replace with a new one.
Modern systems employ circuit breakers, a lever-type device. When a circuit overheats, the breaker trips — the lever flip to the off position. The circuit breaker can be reset once the problem that caused the trip is corrected. Fuses or circuit breakers that repeatedly trip on the same circuit indicate a problem that needs attention. Never solve a fuse problem by simply installing a higher-rated fuse; this can lead to fires from overheated circuits.
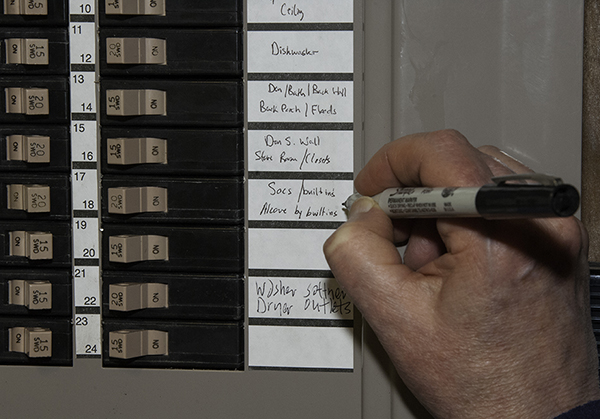
To understand your home’s electric capacity and condition, map your electric system. Mapping involves developing a list of circuits and the associated maximum usage or load of each circuit. With a helper and a set of cell phones, one person can move from room to room and the other can turn off a breaker or fuse to determine which plugs and overhead lights are on each circuit. Label each circuit in the fuse or breaker box so you can quickly identify the right circuit when you’re ready to call in an electrician to work in the house.
(Photo: Cliff Zenor)
Early electric circuits used “knob and tube” wiring — round porcelain knobs that wires wrapped around and short tubes that wire traveled through to prevent them from touching other wires. The circuit continued through each plug or light and on to the next. If one of the wires was cut, the entire circuit went dead. Knob and tube circuits can often be maddening illogical. By the 1930s, knob and tube was replaced as the standard wiring practice with paired and shielded wire run together.
To rewire a vintage home, an electrician will install a new circuit breaker box, then “fish” new wire from the box throughout the home, connecting to the plugs, switches and ceiling light boxes. As a home owner, you can help expedite the process by determining the orientation of the ceiling and floor joists. This will to help the electrician identify the path for the new wire run. Being flexible on the locations where you want switches and plugs also helps.
Through a series of access holes in the walls and ceilings, the electrician threads the fish wire — a small steel tape connected to the electric wire — pulling it through from hole to hole. Fish tapes are notorious for getting caught on firestops, wood bridging, or other debris in the ceiling and wall, so the job requires patience and ingenuity. Once the wire is in place, the electrician installs new plugs and switch boxes, patches the holes and installs the plugs and switches. With the power off, installing the plugs and switches could be a DIY project. A safely wired home can provide decades of service to you and future owners.
This article first appeared in South Bend Tribune.
Stay up to date on the latest news, stories, and events from Indiana Landmarks, around the state or in your area.