NEWS
Home Renovation: Updating Kitchens and Baths
Major renovation of these spaces can increase a home’s value and enhance functionality, while retaining vintage charm.
In vintage houses, kitchens and bathrooms experience the most change, which is not surprising given different owners over time, shifts in decorating tastes, and advances in technology. Major renovation of these spaces can increase a home’s value, enhance functionality, and also retain vintage charm.
If you’re planning a complete renovation, start by taking stock of the original features that remain and work to incorporate them in the new plan. If a costly renovation is not in the budget, DIY approaches can help you maintain the best of the old, save money, and install updates.
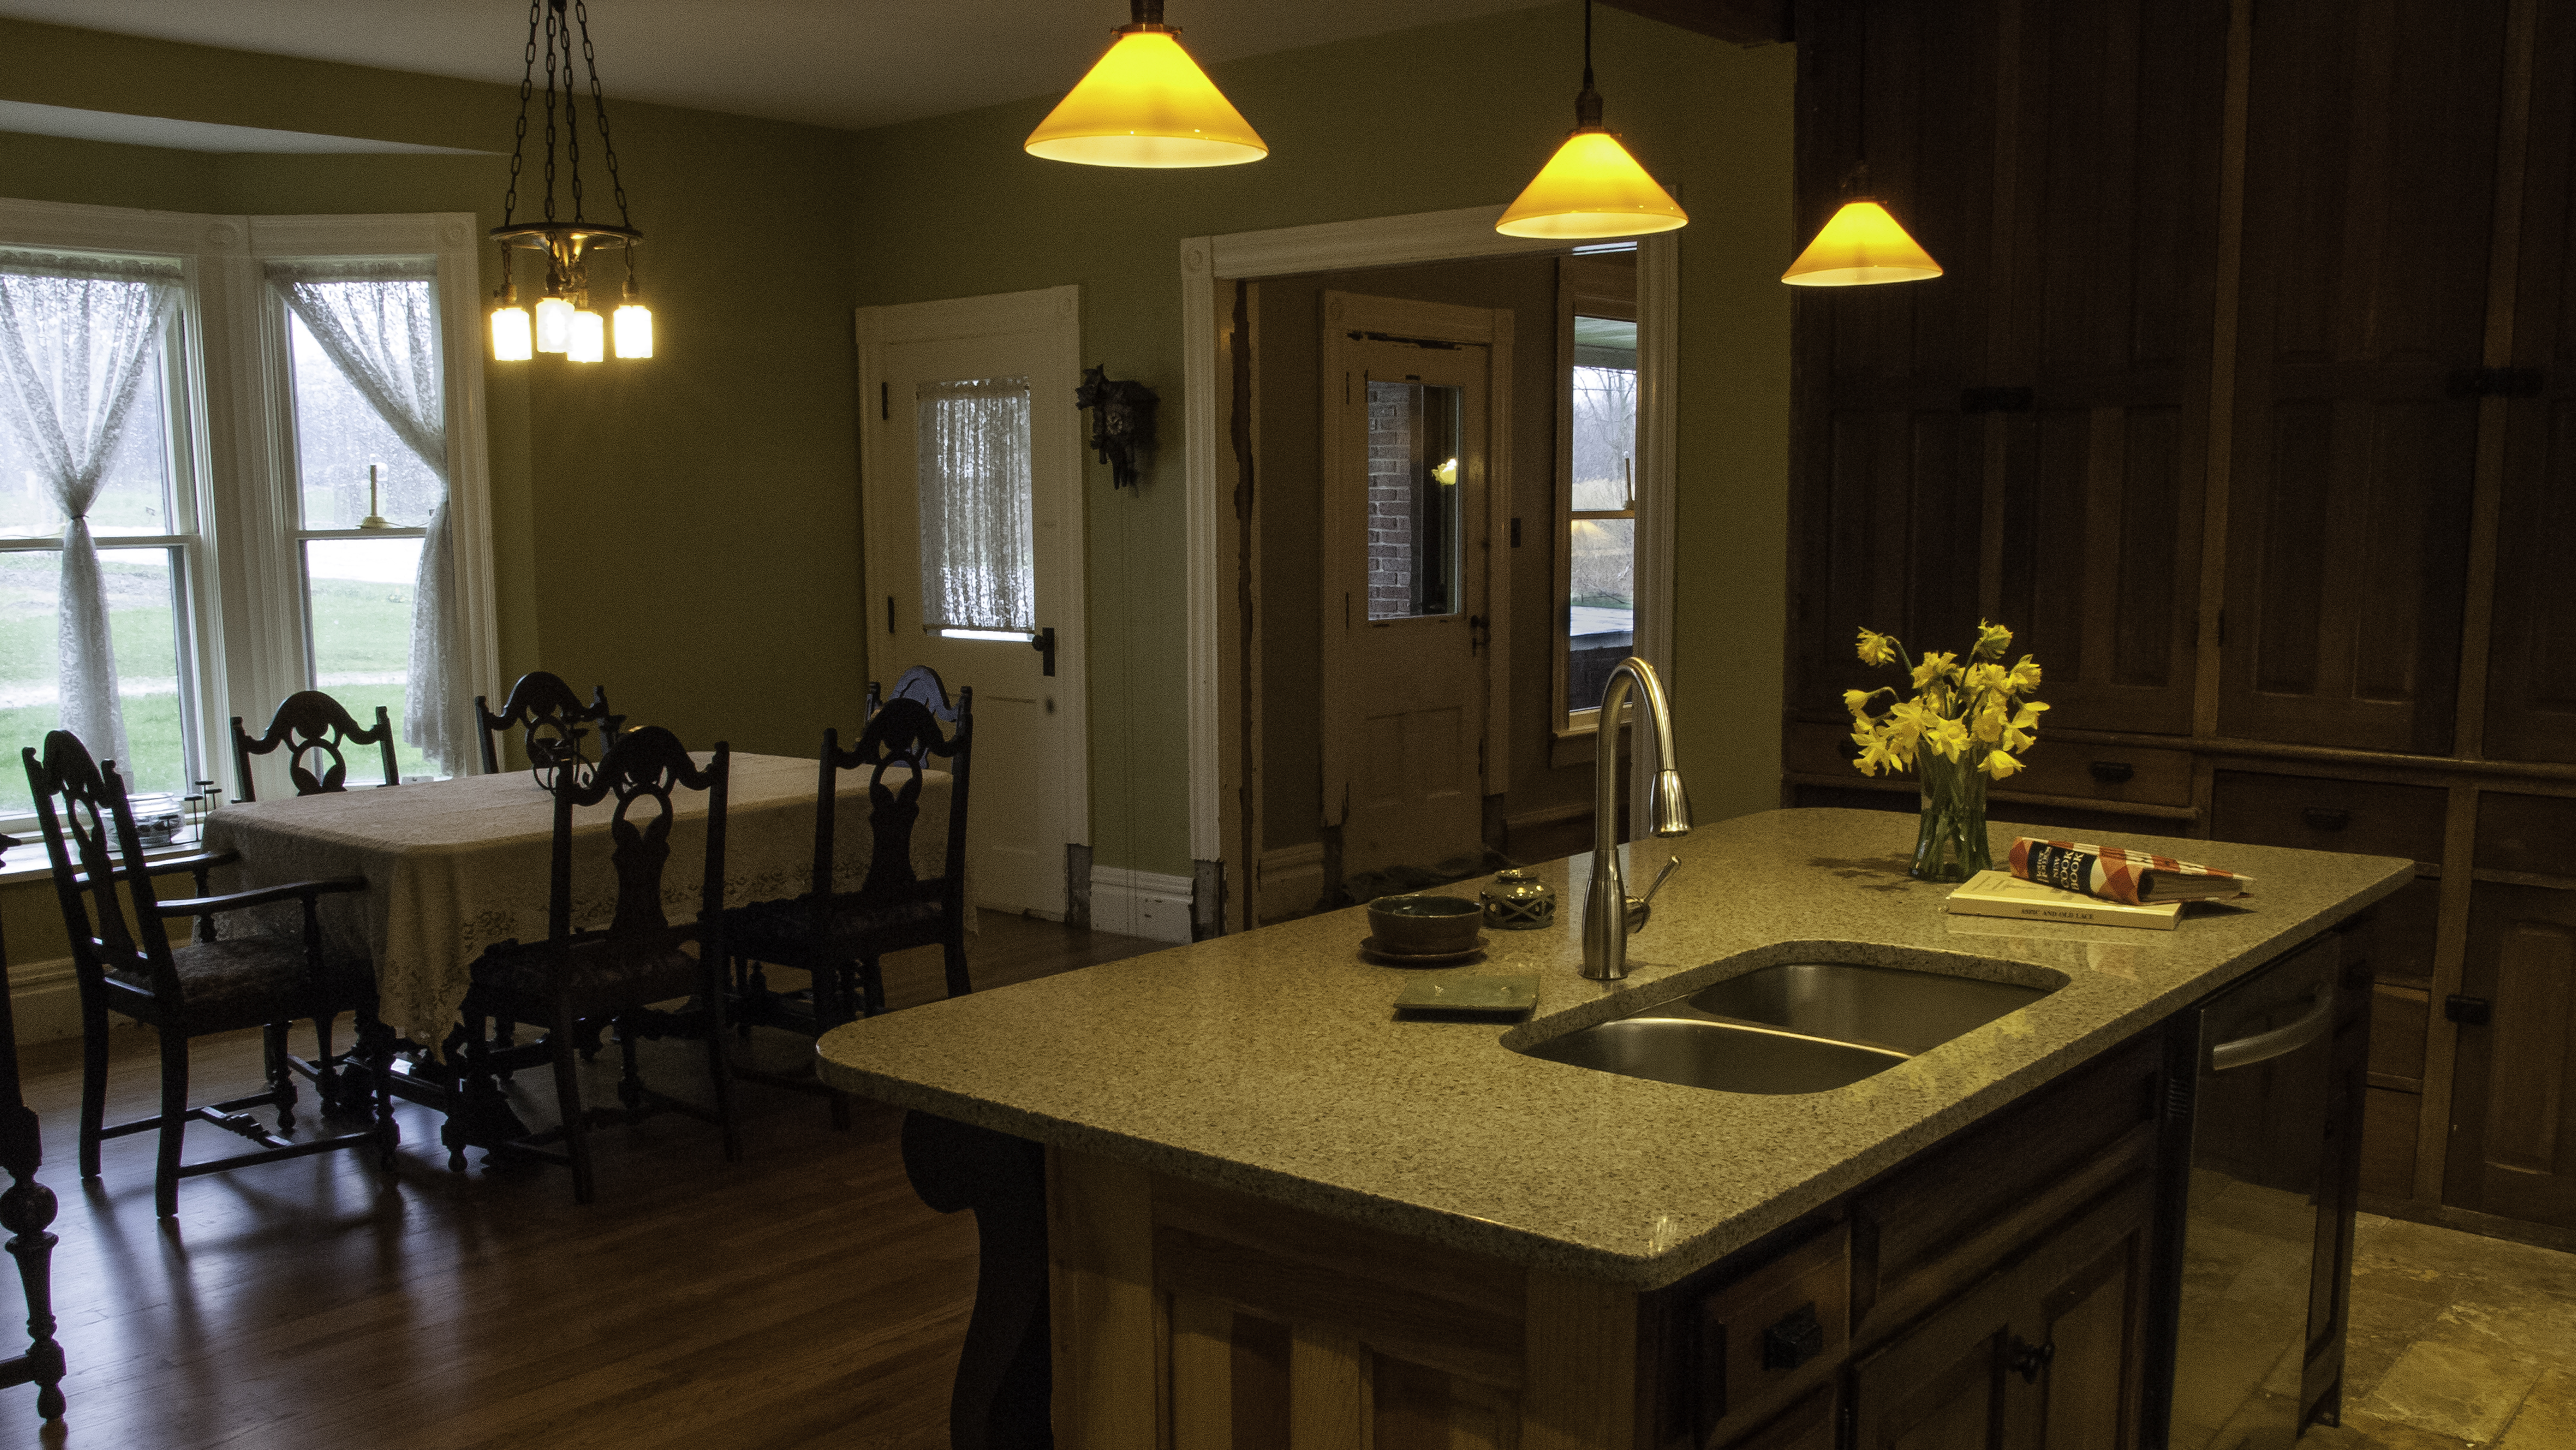
Vintage kitchens and baths were usually smaller spaces, separated from the rest of the public and private rooms of the home to a greater degree than we prefer today. Maybe you’ve experienced the situation where all the guests end up in the kitchen during a party, no matter how small the space? Opening up walls between the kitchen and other parts of the house — creating an open plan — is a popular trend that integrates activities in the kitchen with family and guests in other parts of the house. Those newly opened spaces do come with tradeoffs. Your home loses the more formal, separate dining space. Noise and cooking odor are harder to control. And you can’t hide the dirty dishes as easily.
Bathrooms, too, have grown larger over time. Renovation might involve taking over an adjacent bedroom, removing the wall between to enlarge the space. For either a kitchen enlargement or bathroom expansion, the work may involve structural changes that require the skills of a carpenter and relocation of electric and plumbing lines. You may also have to address different floor heights that are concealed by the wall. Those differences arise as the kitchen or bath floors are updated and the adjacent room has not had such changes. Doorway thresholds tend to minimize that impact. When the wall is out, the difference can be very noticeable.
DIY tasks could include careful removal of original trim and removal of the plaster and lath to get back to the wall studs. Make sure to put down plastic on any finish floors that that you want to keep and consider investing in Zip poles to plastic off the rest of the rooms to keep plaster dust from spreading throughout the house. Have on hand a flat bar, quality hammer, flat and scoop shovels, a waste barrel and a small dumpster or other method to haul away the debris. Open windows for ventilation and wear a proper mask. Finally, remove the nails from the original trim by pulling them out from the unfinished side with a pair of vice grips and store for later use in repair.
After the walls are out of the way, remove extra layers of finish and newer sub-floor to uncover the original sub-floor, which is the last layer of wood before the floor joists. This surface will provide a solid base to work from and will help minimize floor height transitions. Use a heavy-duty wrecking bar to get pry up the layers of flooring.
This article first appeared in South Bend Tribune.
Stay up to date on the latest news, stories, and events from Indiana Landmarks, around the state or in your area.