NEWS
Home Renovation: Refinishing Floors and Woodwork
Lurking beneath that outdated shag carpet or glued-down tile may be one of the best assets of your vintage house, a wood floor.
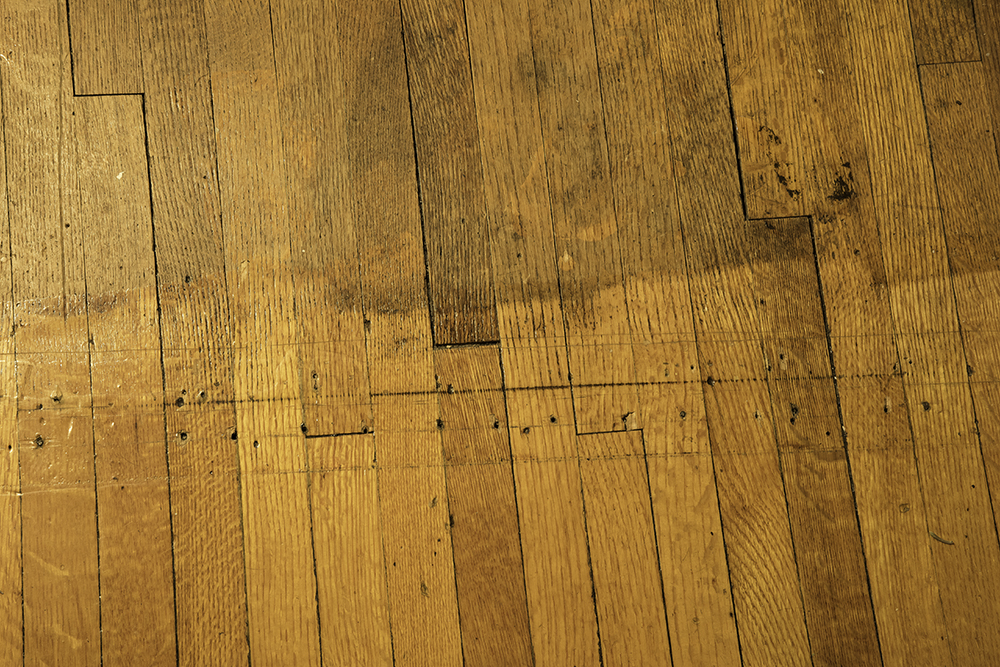
Vintage floors are a favorite feature of old-house owners, offering aesthetic warmth and patina that new material can’t achieve. Patina — the little scratches, dings and wear marks — lends character and connects your family to those that preceded you in the house.
Even if your floors show evidence of abuse, they can be revived, so don’t assume you have to remove or cover them up. The first step is to determine the type of wood and its thickness. Finish floors in the main rooms of the house (parlors, entries, dining rooms) are commonly red or white oak, known for hardness and durability.
In less formal parts of the house (bedrooms and pantries) you may find Douglas fir, a softer, less expensive yet durable wood, coveted for its orangeish luster when finished. Similar wood types can have different looks depending how the floor board was sawn from the tree. Straight-grain and quarter-sawn oak each have distinctive grain patterns.
Sometimes you may find a combination of both woods, with oak in a band around the perimeter with the center in Douglas fir. This design saved money, with an area rug often covering the center and the more expensive oak exposed around the perimeter.
Knowing your floor’s thickness also helps inform your approach. Three-quarter-inch tongue-and-groove wood floors can be sanded through the first quarter inch. Sanding more deeply will expose nails and cause the wood to splinter. If you have parquet floor, typically three-eighths or one-quarter inch thick, you’ll need to take extra care when sanding. For a quick way to figure out your floor’s thickness, remove a floor register cover and look along the edge where the floor meets the ductwork.
If your floor does need repair, try to match the species of the boards used for the repair to the existing floor for a consistent final appearance. Each species takes up finish differently. You might first try robbing original flooring for repair from closets, attic, or rooms that will be re-floored.
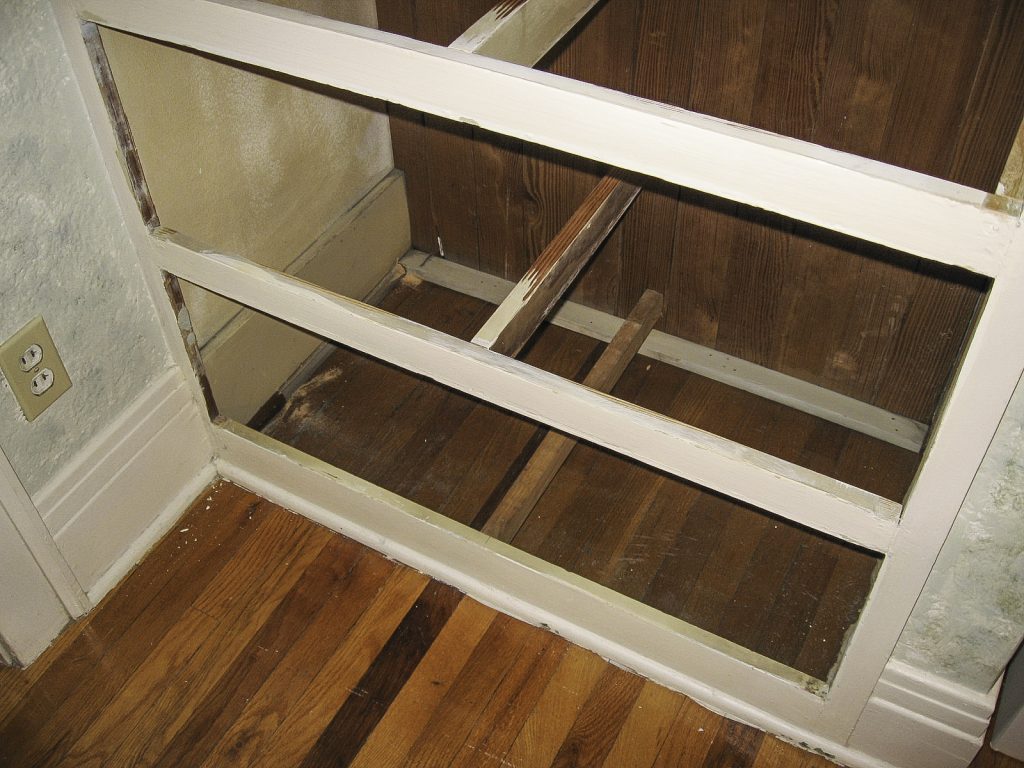
Original floor boards revealed beneath a built-in. (Photo: Cliff Zenor)
To revive your vintage floors, use the gentlest means possible to save time, money, and original character. Try cleaning first. If that does not achieve the desired result, use an orbital sander to scuff the finish before applying a new finish.
Avoid super-shiny polyurethane finishes in favor of lower lusters like satin or eggshell. Many wood floors were originally finished with tinted varnish to match the adjacent trim. A stark contrast in color between the baseboard and the adjacent flooring would have displeased Victorian ancestors. Given their durability, modern polyurethanes have replaced old fashioned varnish.
Water-based polyurethane products are more environmentally friendly, lower in volatile organic compounds (VOC), easier to apply, and less expensive. The trade-off is that these finishes tend to be less durable and impart a milky finish to the wood grain compared to the soft amber glow and durability of the oil-based polyurethanes. If you use oil-based products, make sure you have good ventilation and be sure to safely dispose of rags as these can be highly flammable.
Consider a hand-rubbed tung-oil finish, another great option. Used for furniture finishes in China for thousands of years, tung-oil finishes are more labor intensive but very durable. And it’s a process DIYers can master. The resulting amber color highlights the wood’s grain and can be re-coated in the future without sanding.
In less important rooms, you may find poplar floors covered in coats of pigmented milk paint. A soft wood that scratches easily, poplar displays dull graining compared to oak. Painting protected the wood while introducing color to brighten an otherwise dark room. You can achieve a similar effect today with an oil-based deck paint.
If your floor shows heavy use or glued-on material like linoleum or vinyl tile, it may require major repair and aggressive sanding. Full refinishing involves a heavy drum sander and an edging machine. While this work is within the capacity of many DIYers, hiring a professional will get the work done quickly and with the least disruption. Many a DIYer laments the wavy look caused by a well-intentioned but inexperienced sanding. If you are confident in your staining ability, you might hire a sanding pro and complete the finish yourself.
As an eco-friendly alternative, consider buying a salvaged wood floor. Make sure to buy sufficient flooring from the same room or house. Floors from different houses may have been sanded or refinished. Minor differences can be sanded out in the refinishing.
This Old House magazine features a step-by-step guide for refreshing your floor: https://www.thisoldhouse.com/flooring
10 DIY vintage wood floor tips
- Loosen the carpet: Use a flat bar along a base board to break the carpet free from the tack strip.
- Cut up the carpet: Reduce the bulk to make disposal easier. Lift the carpet away from the floor before cutting to avoid marring the original wood floor with the utility knife.
- Wrap it: Wrap duct tape around the part of flat bar that levers against the floor or baseboard to protect the surface when removing the tack strips.
- Get a grip: Vice-grip plyers are best for removing staples that attached the carpet pad to the wood floor.
- Clean it first: Try Muphy’s Oil Soap, water and some elbow grease. If this doesn’t do the job, clean again with a slightly dampened mop and a diluted mix of vinegar and hot water.
- Salvage is your friend: Locate extra boards for repairs at your local Restore, Craigslist, or salvage business.
- Check it first: Try to find flooring that has not been sanded or at least excessively sanded. Find a board in the bundle that was nearest a wall. On the edge, the area of the board that was under the baseboard will be the original thickness and thinner where sanded.
- New finish is next: Apply a coat or two of tung oil on a dry floor, or sand and apply polyurethane.
- Stay off the floor: Allow time for the finish to dry for a few days.
- Put on new socks: Have a blast sliding across your revived wood floor!
This article originally appeared in South Bend Tribune.
Stay up to date on the latest news, stories, and events from Indiana Landmarks, around the state or in your area.